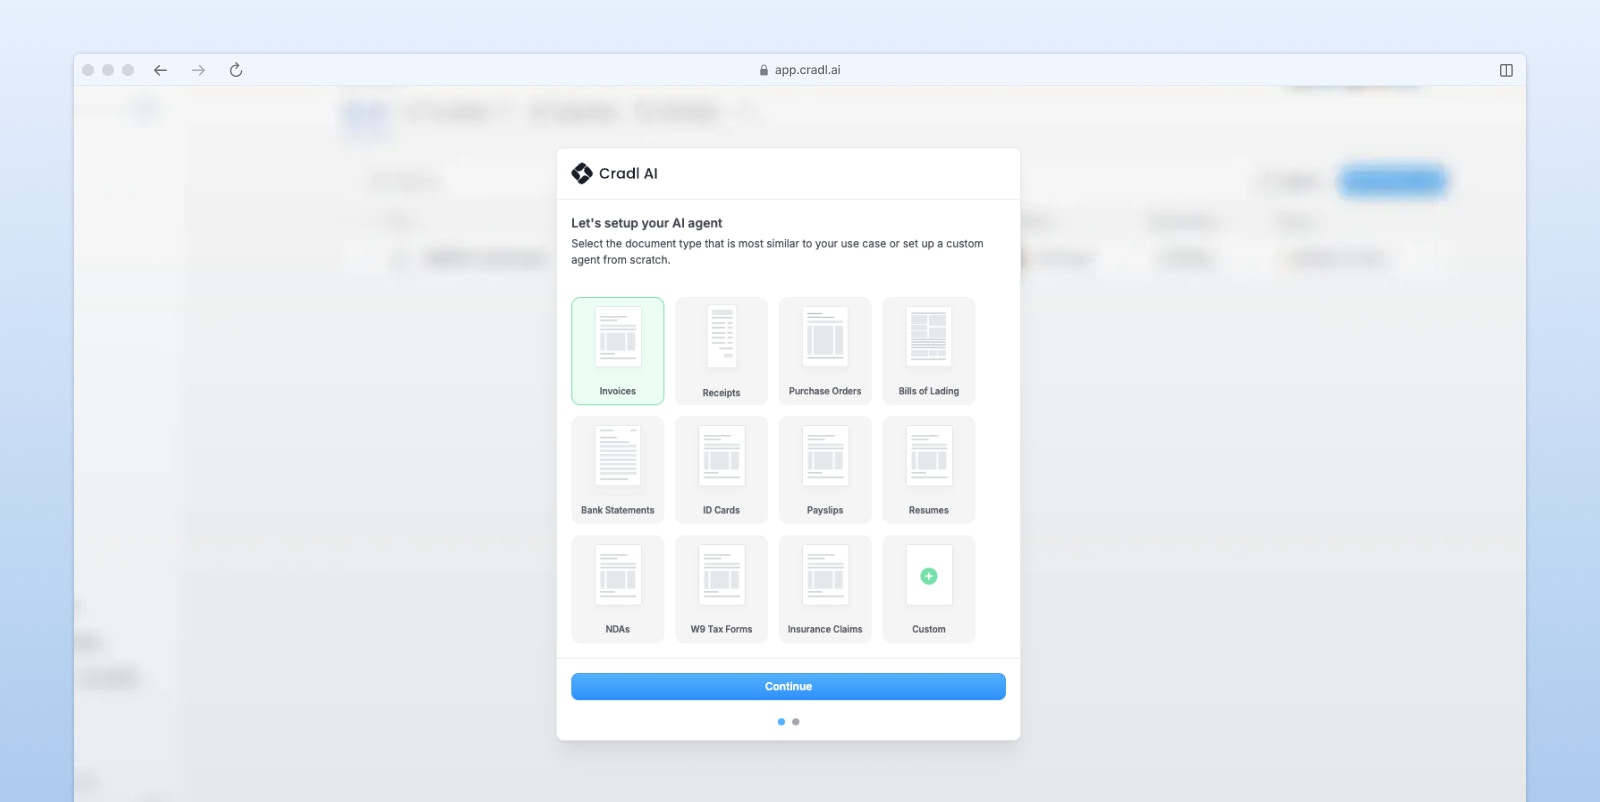
Step 1: Start with a template
The fastest way to get started with Cradl AI is by copying a ready-made Agent template.Select template
After creating your account, pick a template that best matches your use case. Every setting is fully customizable, so you can fine-tune your Agent to handle your specific document type and workflow. If none of the templates resembles your use case, you can always build an Agent from scratch using the Custom option.

Add integrations
Next step in the onboarding, you’ll also define how you plan to integrate your Agent into your workflow (e.g., export to a spreadsheet, database, or third-party app). This won’t set up the actual integration yet, but it helps configure your Agent with the right intent.
Import a test document
Once your Agent is created, you’ll be taken to the Runs view - the central place where all processed documents are listed.If you selected a template, we’ll automatically include a sample document flagged for review, so you can immediately test your Agent. You can also manually upload documents at any time by clicking Import in the top-right corner, a great way to test before setting up automatic imports.
Review predictions
To review results, click on a document in the Runs table or use the Review button to open the review interface. Here, you can check the AI’s predictions, make any needed corrections, and export your data by clicking Confirm when you’re ready.To review results, click on any document in the Runs table or use the Review button to open the review interface.Here, you can:
- Check the AI’s predictions for each field
- Make corrections as needed - your Agent learns from every edit
-
Export your data by clicking Confirm when you’re ready.
Note: Data won’t be exported automatically until you’ve set up an export integration.
Step 2: Edit your AI model
To control what your AI model extracts, head to the Workflows section in the navigation panel.- Click on the Extract with AI node.
- In the panel on the right, you can:
- Add new fields for the AI to extract
- Define validation rules to ensure data accuracy
- Add formatters to make sure the output is consistent
Step 3: Set up integrations
To connect your AI Agent to the rest of your workflow, you’ll need to configure integrations. In the Workflows section, you can:- Add triggers to automatically process new documents
- Set up export destinations (e.g., databases, spreadsheets, or external tools)