Introduction
In this guide, we’ll walk through sending a document from Zapier to your Cradl AI agent for extraction. From there, you can pass the results to other actions in your Zap.Before you begin
- Ensure that you have an active Zapier account
- Prepare a test document to upload when you run your Zap.
Setting up your Zap
In the following steps, we’ll create a Zap, add the Cradl AI action, and map the document content to process.Add a Zapier trigger
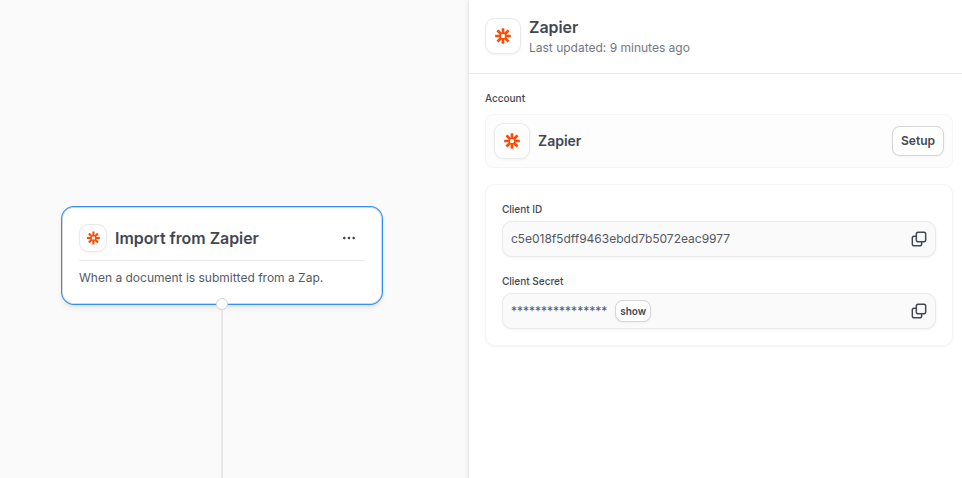
In Cradl AI, open your agent and add a new trigger. Choose Zapier from the list of integrations. Copy the Client ID and Client Secret from the Zapier integration panel.

Add the Extract Data From Document action to your Zap
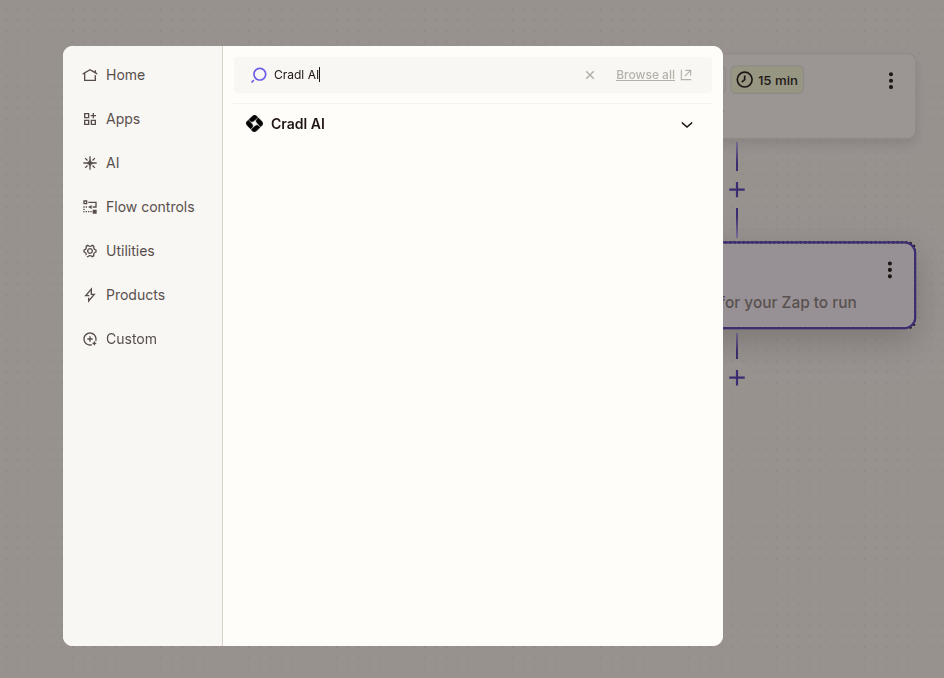
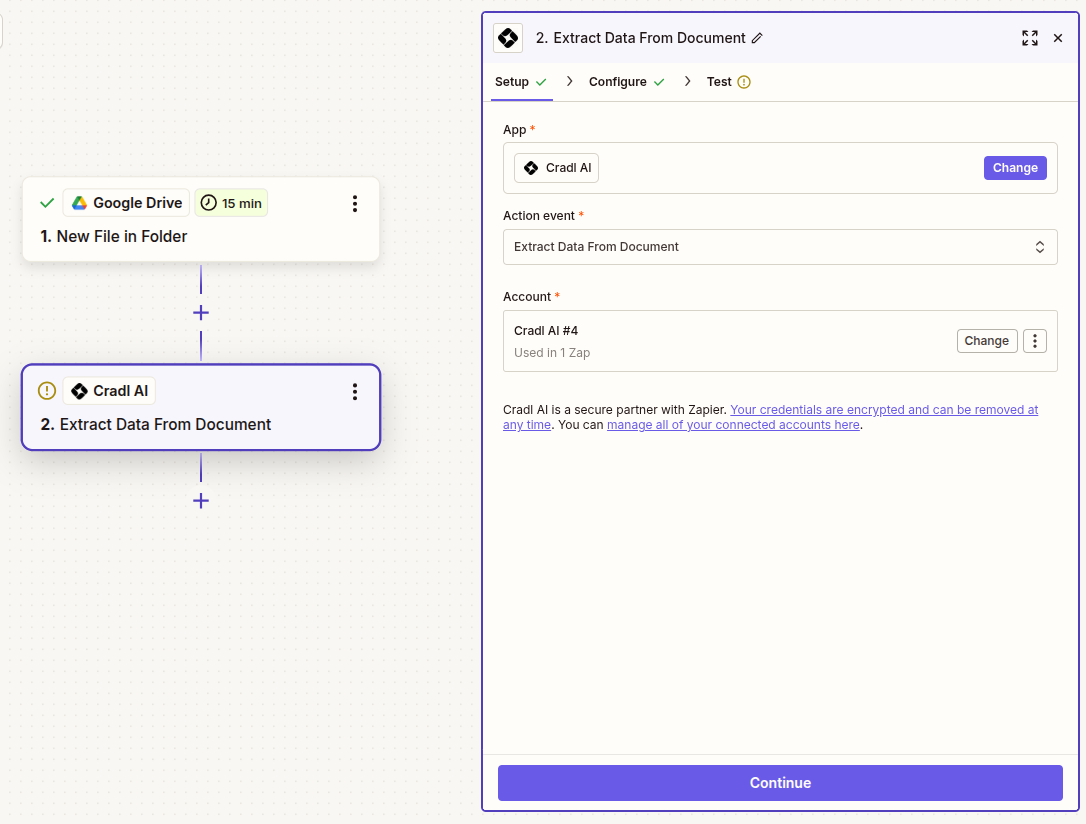
Add a new action step in your Zap and select Cradl AI as the app. For Action Event, choose Extract Data From Document.
 Under Account, click Connect a new account and paste the Client ID and Client Secret you copied in Step 1, then click Continue.


Configure the action
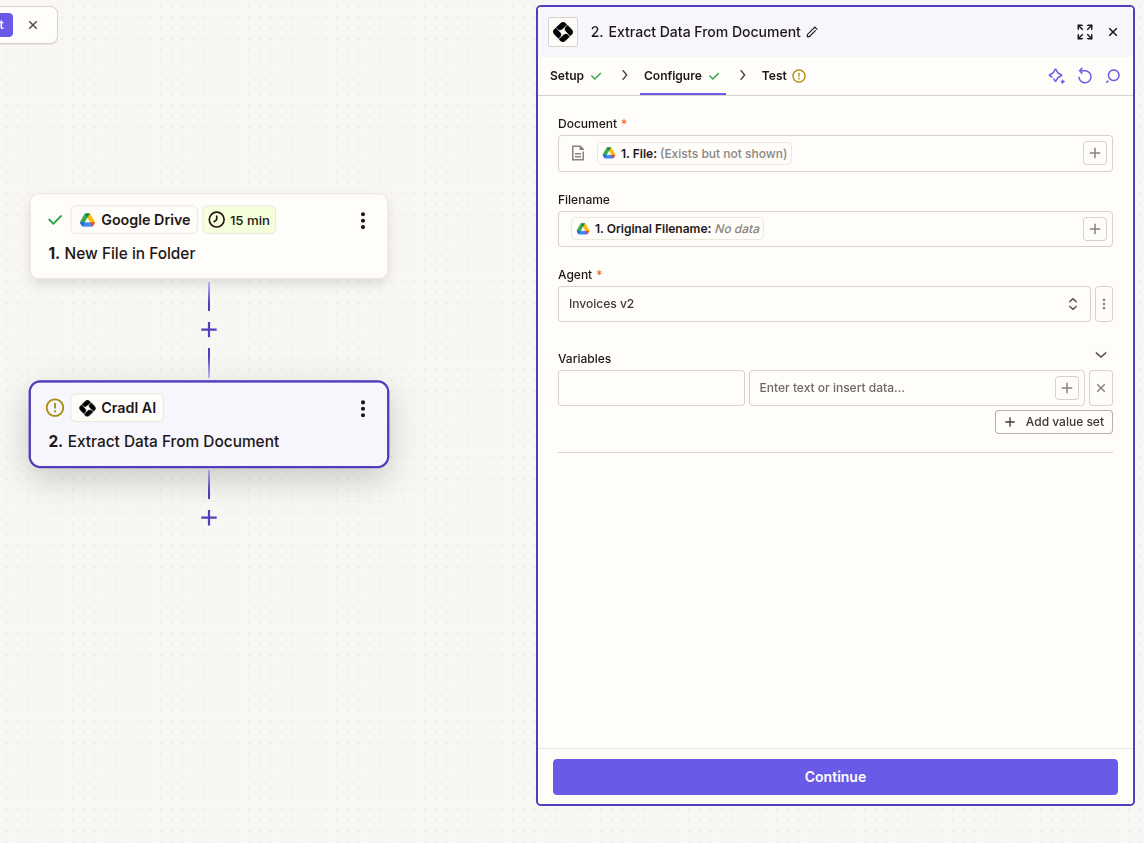
Choose the Cradl AI Agent that should process the file. For Document (or File), select the file from your trigger step. Optionally set Filename to pass the original file name to your agent.

Troubleshooting
- If Zapier reports
401 Unauthorizedor403 Forbidden, reconnect the Cradl AI account in Zapier using fresh credentials. - If no output appears, make sure the file type is supported and not encrypted. Try again with a small sample document.
- If downstream steps can’t see fields, re-test the Cradl AI action in Zapier to refresh available output fields.